Home

Showing posts with label tutorial. Show all posts

Sunday, June 17, 2012

Workbench: North African Village

My gaming group and I decided last year to start a project - the war in North Africa. I took the Italians, my friends the Afrika Korps and the British. After all this time we got a date to finally play - on this sunday. We've got everything - painted troops, a table... but something was missing: proper scenery. To be more precise: a North African village. So I decided to build one! Of course, my deadline was today, so was in a hurry. I started on last saturday. I wanted to use old stuff, so I could reduce my inventory and get new scenery without spending money on it. So here's what I got:
Some hobby plastic card, rests of foambord, balsa wood, etc.

I even glued some bases togehter, so I didn't had to cut out new ones (you see, I'm very economical):


I've got a problem: normally, I'm a total control freak. Before I can build something, I plan it for weeks - how big should it be, how high and big should be the windows etc. When I come to the building process, I want to work very accurate and clear. In the end my scenery looks a big artificial - of course, because I wanted to control every detail. I took this project as an incitation to change myself!
I only used rest pieces of foamboard and tried to avoid right angles - it should look awry and more natural. I also cut the windows and doors just the way I wanted and used no ruler of something like that. Everything was cut free hand.

The first sight of the buildings (ignore the rest)


Doors are made out of balsa wood, engraved with a pen.


The buildings themselves were ready, now they needed a proper texture. First I used adhesive tape to close the gaps in the walls. This was much quicker than using putty. After doing so, I applied diluted wood glue and dispersed fine sand on the buildings. I did this twice, so adding a thick layer of sand. In the end I again coated the buildings with the diluted glue, which, after drying, hardened the sand and will protect it from abrasion.


The last step was, of course, panting. I tried some different approaches. In the end I used a washing and drybrushing method. First, I primed the buildings white. Then I washed them twice with bright brown, which I mixed out of my sceney colours. After drying I drybrushed the building with pure white, using a large brush. That highlighted some areas. After this I drybrushed the base and painted the doors. Done!


Some Italians occupying the new building.


Sunday, April 15, 2012

Testing the Army Painter quickshade

Hi there,

as you may have noticed, my blog's name is "An Average Wargamer". My thoughts behind this choice are quite obvious. I believe it's necessary to know your own strengths and weaknesses. I know my weaknesses: I like big battles with many miniatures, but I'm also a slow painter - a classical gap between claim and reality, which often results in frustration.

Possible reliefs are fast painting methods. The most popular was and is the so called dipping technique. I watched the evolution of dipping from its very early stages, the times when people used wood glaze to shade their miniatures. Today the Army Painter quickshade is very popular, because it produces a much more predictable result than the earlier experimental glazes. Although I observed this development, I never took the last step to try this method myself.

Some weeks ago, while I was writing a paper, I saw the pictures of a Thirty Years War army in 15mm. Thomas (and his brother), who I got to know on TACTICA, where they presented a great table, showed it on his blog. He painted his TYW army in a short amount of time and produced a fine result. This got me again into dipping. I decided to finally try it by the time I finished my work for my studies.

So I did and I will show you what I made. I chose a very systematic approach to see how the Army Painter quickshade (I employ the strong tone) affects different colours.


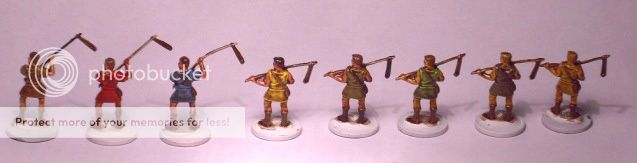
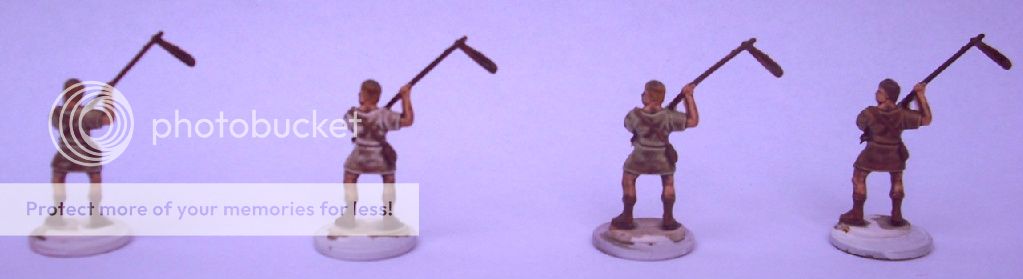
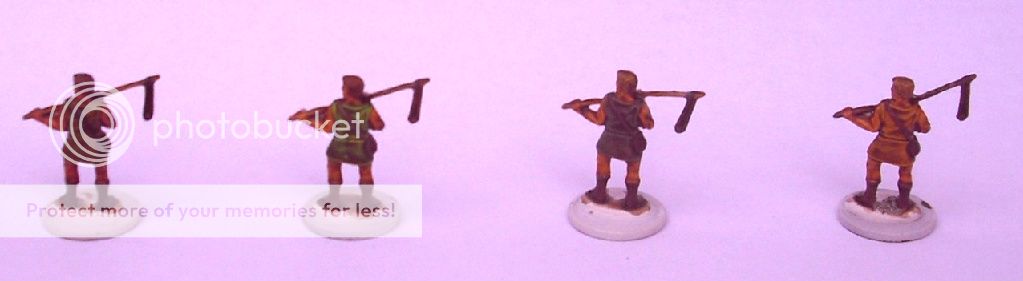
1. I took 11 staff slingers from this box, based them on coins, applied a white basecoat (GW primer) and added numbers, so I can see exactly what colours I used on which miniature (I of course also listed the paints used). I didn't deflash them, because I won't use them for gaming and therefore saved some time.


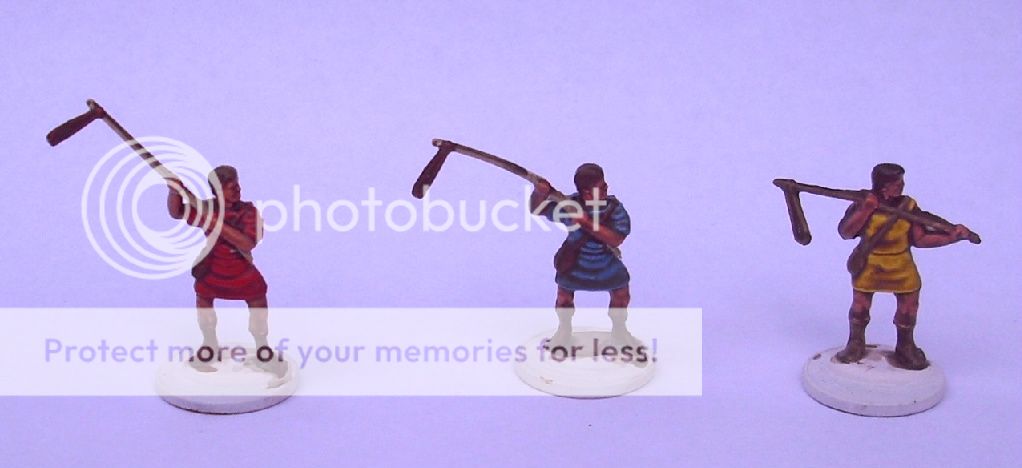
2. Now I painted them in bright colours. I only did the basics, just plain paint.


3. In the next step I applied the quickshade. I used an old brush to do so, because real dipping wastes much of the quickshade for nothing (as you can see here). Additionally, a brush gives much more control. I let them dry for some minutes and then took away the excess quickshade - less can be more. You can see the typical gloss of the quickshade. Then I left the miniatures to dry. I read several different time spans, from 12, 24 to 36 hours - I had between 12 and 24 hours. They dried over night on my balcony and the cold temperatures didn't harm the paint at all!


4. The last step was matt varnish, I use the one from vallejo. Now the miniatures loose their glossy shine and are therefore finished.


Conclusions: The Army Painter quickshade is also suitable for 1/72 miniatures. It produces good results in a very short amount of time. Especially brown and skin tones benefit from the quickshade. Also other colours look good after shading, but they appear brownish. Another advantage is that the quickshade adds a layer of protectice varnish, which is very good in connection with the soft plastic of 1/72 miniatures. Even though I like my normal painting results better, the quickshade is much faster and the results are comparable to my normal ones. I believe that the quickshade and the 1/72 scale are natural allies - cheap miniatures, fast painted! I wouldn't quickshade an expansive 28mm mini in that way, but for masses it is very suitable. Perfect for my demands.

I'm very satisfied with the quickshade and I decided to use it to increase my output. I'll now tackle the stuff that lay around for years. Some Greeks are on my table, waiting for paint, and also the Red Army will get a push. Stay tuned!


Thursday, February 23, 2012

Tutorial: How to make low budget cypresses out of firs

Hello,

I decided to post a tutorial, which I made three years ago already in the Sweetwater forum. I wanted to build some Mediterranean vegetation, so I get some scenery which ist suitable for my ancient Greeks and Macedonians. The problem was, that all the vegetation was very expensive, because it's seldomly used on railroads. So, I had to improvise. Luckily, I was inspired by this great table. I found some old trees und began to realise, that firs could look like cypresses, if you change them a bit...

1. First of all, I studied the Wikipedia article about Mediterranean vegetation. Then, I asked Google how a cypress really looks like (you see, always check the basisc before building).

2. Get the raw material: cheap railroad trees - we only need the firs. The tool:  simple scissors (this is a very cheap one).


3. I cut the lower branches, to get a crude round form, which is typical for cypresses. I work from bottom to top and hold the scissors crosswise to the tree, beacuse it's easier than lengthwise.
The first result.

4. Now I go on in cutting the upper part, because a cypress is thinner there than a fir. Now the main form of the tree is defined.
Main form, still a bit crude and awry.

5. The finishing steps. The tree gets the final form. Cut the areas where to much material is left, rework the lower curves to make them smoother. In the end you should bend the bole of the tree straight, as it is made out of wire which can deform during the work.

6. If you want to, you can paint the trunk. Now all you need to do is base the tree und you are finished.